Exporting designs from Figma to Remotion
You can export a design from Figma as an SVG file and import it as a React component in Remotion and then animate it.
Open the Figma design
We are going to use a copy of Streamline's Vector illustrations.

Grouping vector elements in Figma
If not already done, group the items you want to export together or frame them in Figma.
Groups will be represented as <g> elements in SVG and if you want to animate multiple items together, it can be useful to group them.
Export as SVG
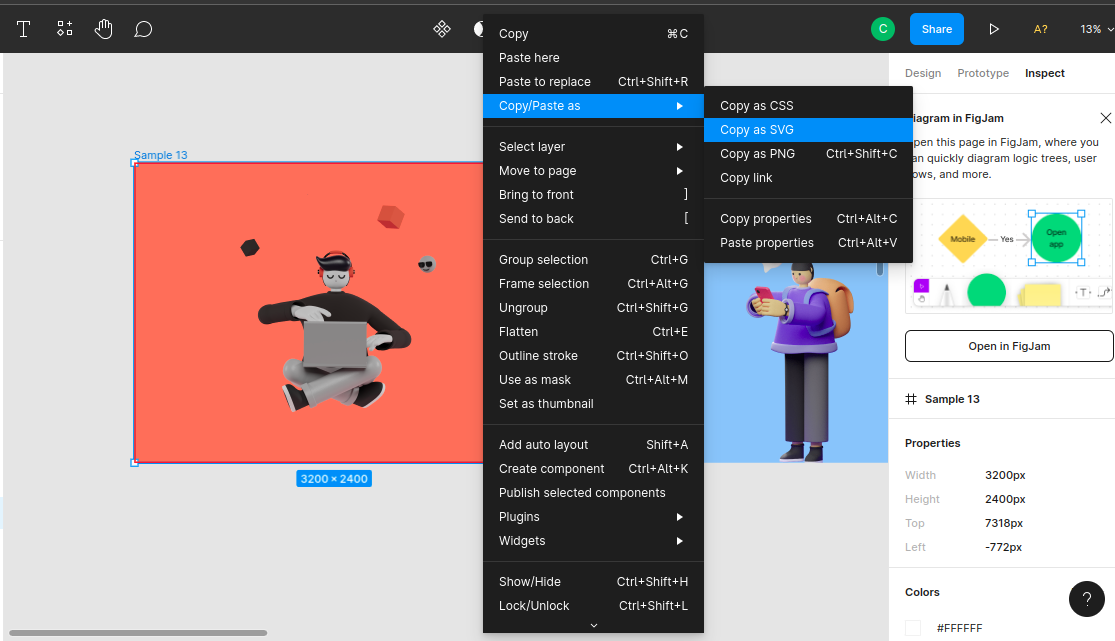
You can export any design by copying it as SVG markup — you can do that by right-clicking on the design itself and selecting the Copy/Paste as option.
Next, you need to convert the SVG into a React component. Often, you can just paste the SVG into React markup and it will work.
Alternatively, use the SVGR playground to reliably convert SVG into React components.
Importing SVG in Remotion
Paste the component into a Remotion project and register a <Composition>.
An example can be found in this repository.

Animate SVG markup
Let's try animating the vehicle group. I'll just go ahead and take a section of the vehicle structure for brevity's sake.
tsx
tsx
You'll notice that we're having some values assigned in the style prop in the <g> element. Let's take a look at them in a detailed manner.
ts
ts
The spring library in Remotion can be used to create smooth animations, by taking the current frame of the video — which we obtain from the useCurrentFrame() hook — into consideration.
The launch variable as the name implies animates the rocket by taking it — 3000px — out of the viewport.
ts
ts
The interpolate function allows us to map a range of values to another one, in this scenario, we're mapping the initial spring animation up, the current frames [0, 1], and how far we want the rocket to be displaced from the viewport.
In a simpler form, we're using the interpolate function to animate the rocket by telling it to launch the vehicle when the video is in its first frame — 3000px out of the viewport.
When you're done with that, you can use the component alongside Remotion's built-in Composition component. The illustration below shows what the result looks like, but you can still take a look at the result in this repo.

One thing to note when you're working with SVGs is that CSS transforms work differently with them than they do when we're trying to animate conventional HTML elements. That's why I included the transformBox and transformOrigin properties in the previous snippet like so:
tsx
tsx
If we don't set the value of transformOrigin = "center center", the animation would start from the top left corner, and we do not want that. Take a look at what the animation looked like before I added these attributes.